
The decision to create our own home theater (HT) came in the third quarter of 2001. We began interviewing contractors for the variety of work that would need to be undertaken. We decided to begin work in late December 2001 and continue into the new year. With the cooperation and coordinated efforts of many companies, I played the roll of 'general contractor'. On a later page of this site we identify the contractors, vendors, friends and consultants that assisted with this project.
![]()
![]()
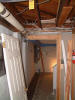
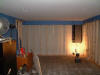
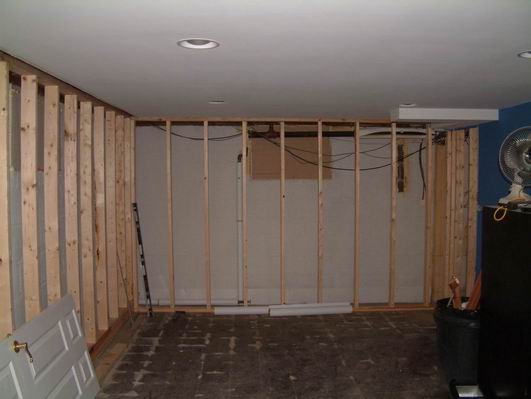
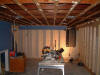
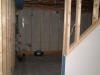
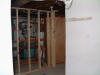
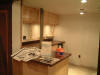
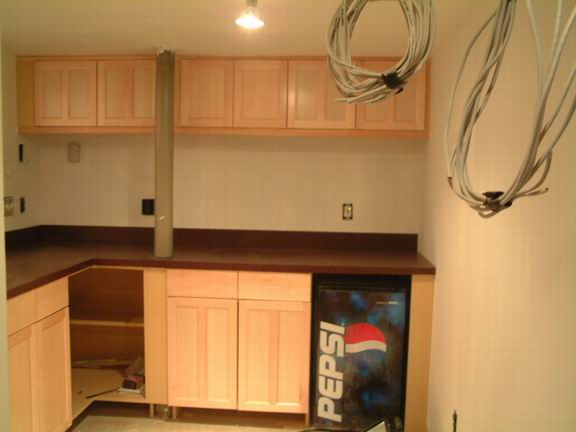
The room chosen for the home theater was a portion of our basement that had previously been built to be an office and playroom for the previous homeowner. The dimensions of the room seemed to be quite suitable for a home theater. The rough dimensions prior to our construction were 22 feet long, 11 feet wide and a relatively low ceiling height of 82 inches. The ceiling height was felt to provide a minor challenge but determined not to be insurmountable. In the room, was a relatively large closet that was built under the stairway and between the supporting beams of the house. The closet (61 inches wide x 80 3/4 inches high x 40 inches deep) seemed to be a good place to build a wet bar! Little did we know what it would turn out to be (see pictures and description later in this website).
But first, we needed to destroy all the existing finish work and dig into the foundation wall to ensure no future water issues would impact the home theater.
![]()
![]()
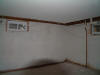
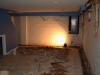
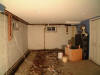
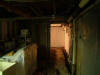
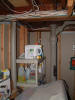
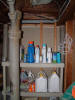
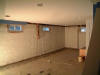
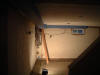
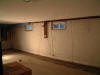
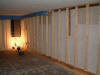
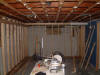
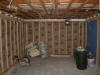
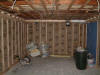
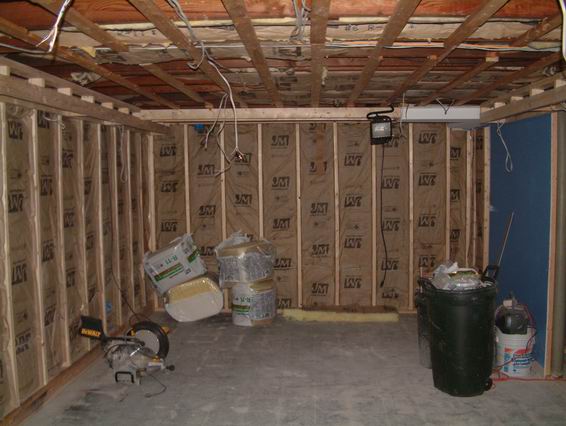
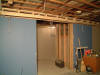
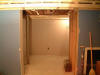
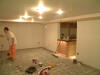
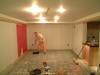
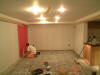
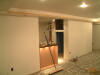
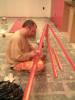
Preparation for the Home Theater project required that we install appropriate waterproofing in our basement. Due to water entry into the basement we wanted to insure against any potential future problems. The waterproofing began by remove all pre-existing drywall and framing. The room below had previously been a finished part of the basement used as an office.
|
![]()
![]()
During the hurricane season of 1999 we experienced water damage from hurricane Floyd. Due to the swath of damage in the northeast, we were unable to retrieve carpet cleaners or rental equipment to extract the water early enough. Due to the rapid rate that carpet and padding rot we were forced to cut the carpeting and remove it. Since this type of water damage is not covered under a home owner's policy we decided to insure ourselves with waterproofing. We did this by first drylocking the foundation walls and then installing 'french drains' and a sump pump.
|

![]()
![]()
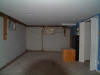
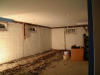
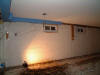
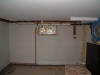
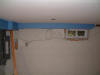
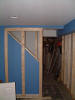
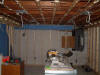
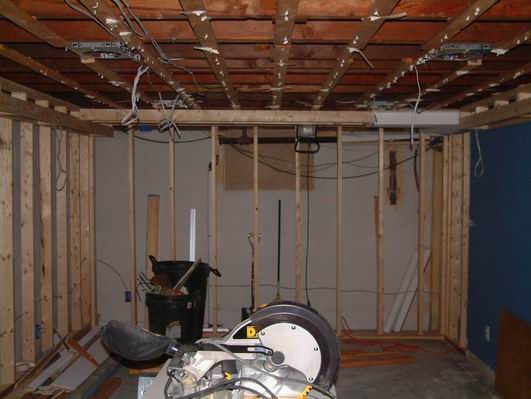
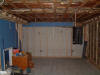
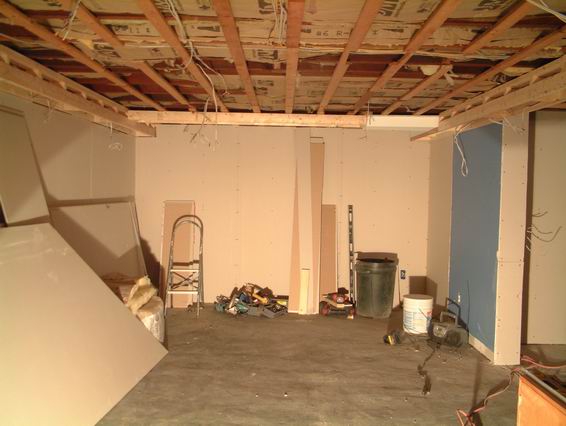
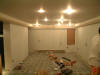
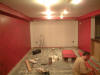
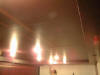
Now that the waterproofing was complete, it was time to begin construction. We took the time to review the challenges with the contractor we chose to use, Danny Russo. Danny, a very skilled carpenter and home refinisher was getting involved in the construction of his first home theater. After many years as a carpenter and doing general home repair, he applied his skill and approached every issue with the same vigor and excitement he exhibited at the onset of the job.
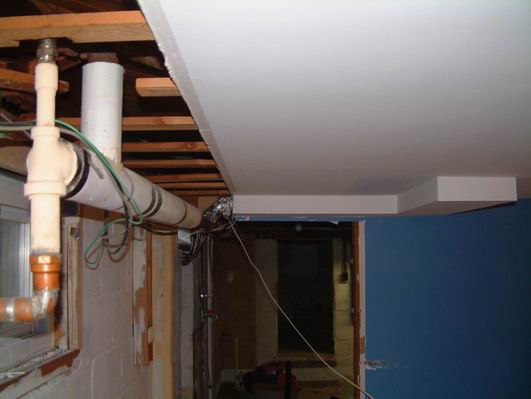
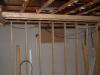
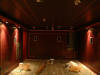
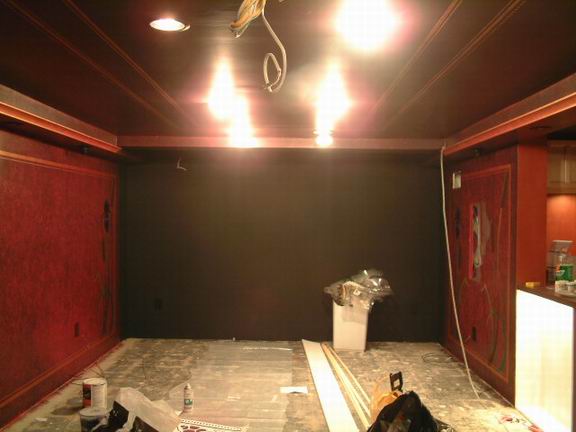
There were however, a number of challenges. The home theater being built in a basement encountered heating pipes along the ceiling and foundation footing. Most of these pipes did not begin at one end of the room and finish at the other. Instead, they began at odd places and were previously framed in with drywall construction, covering only where exposed to the room. For purposes of symmetry and other potential opportunities we decided to use these odd non-linear framings to our advantage. Instead, we decided to build sofets around the entire perimeter of the room. This would give us the opportunity to install recessed accent lighting and hide the hideous pipes that could not be moved. Now, it did not look like anything was being hidden.
At this point it was also decided that we would be framing and finishing the room with the exception of the ceiling. Though we may move them, the recessed lighting that existed was usable and would only need to have the trim replaced in order to match the color scheme of the home theater.
Details of these challenges accompany the pictures below.


|
![]()
![]()
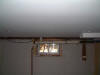
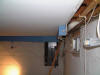
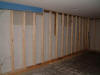
Framing has begun. Windows have been closed with drywall. Outside facing side of drywall was painted color of house exterior. This will help it blend with the exterior color.

|
![]()
![]()
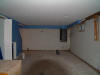
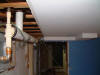
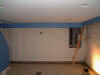
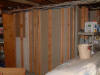
Framing continues. Sofets installed around perimeter of ceiling. Originally, partial framing and drywall hid heating pipes along portions of the ceiling. This triggered the idea of sofets to create a symmetrical pattern around the room. This should fit perfectly for lighting effects.
|

![]()
![]()
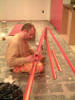
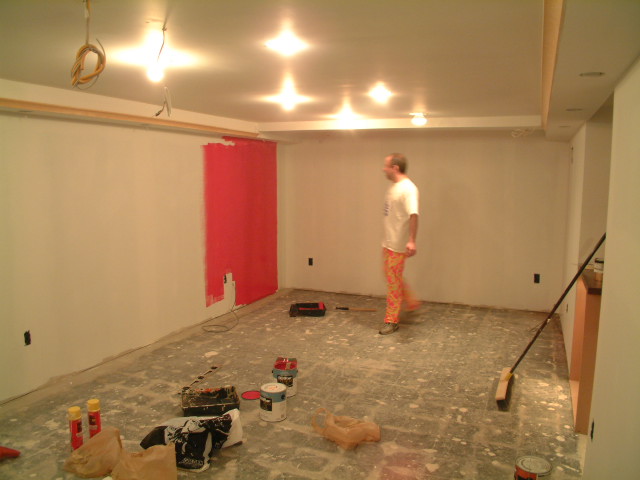
Framing of main HT room nearly complete. Electrical wiring begins. A total of 6 zones including 16 recessed lights and rope lighting around ceiling perimeter.


|
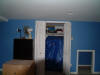
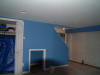
![]()
![]()
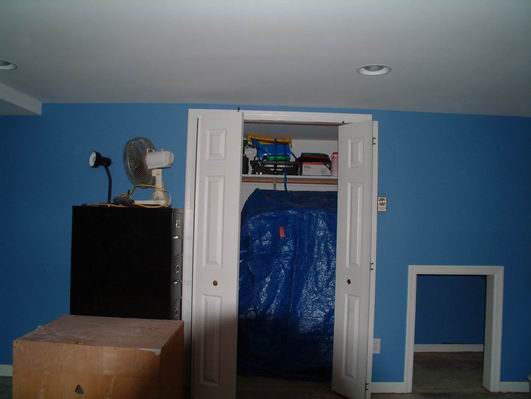
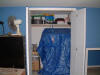
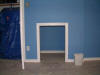
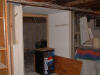
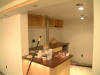
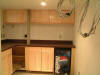
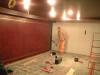
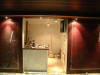
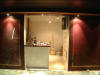
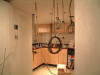
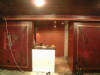
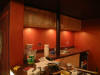
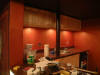
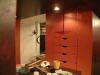
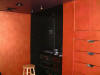
With framing of the main theater nearly complete, its time to begin working on the bar and media room. On this day the demolition of the existing closet, including increasing the size from 5' x 4' to 10' x 8'. This room will house dual A/V media racks, drawers for DVD and CD storage and what we've called a bar but is now becoming a small kitchen.


|

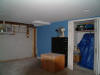
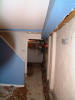
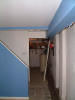
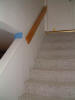
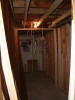
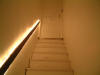
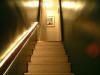
Stairway From 1st Floor
Some framing visible to close in open angle of stairway
![]()
![]()
xxx
|
![]()
![]()
xx


|
![]()
![]()
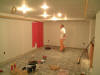
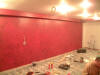
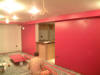
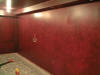
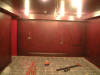
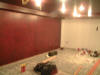
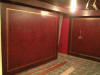
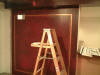
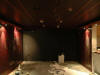
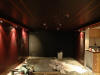
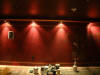
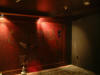
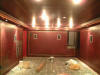
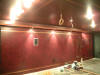
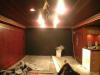
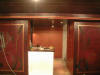
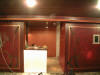
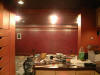
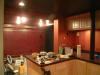
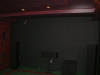
With construction having run over 2 weeks from the original plan, we enlisted my brother-in-law who is a professional artist and master of many mediums, to turn these drywalls into a work of art. For 2 weeks, he used our basement walls as his canvas. Take a look at some of Aaron's work at id design.com.
We spent sometime with Aaron deciding on theme for the theater. After several design concepts we decided we were going to design the theater based on the Art Nouveaux style of the early 1900's. Using multi-layers of paint, a faux finish (textured, sponged paint) was decided as the texture for the walls.

|
![]()
![]()
xxxxx


|
![]()
![]()
xxxxxxx


|
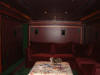
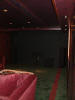
![]()
![]()
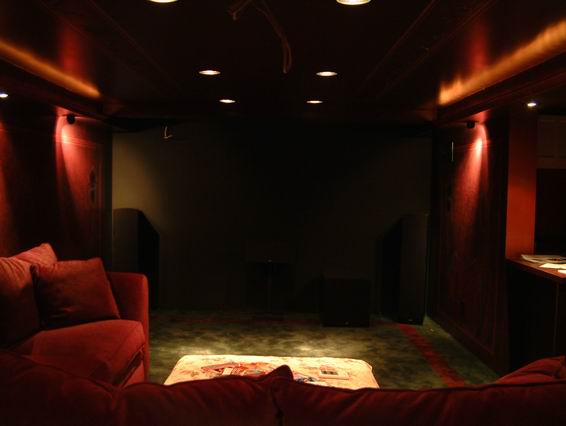
We are [im]patiently awaiting the arrival of the final touches to the theater. We have chosen Dwin's forthecoming Transvision 2 DLP Projector. The projector, originally announced for a late March 2002 release, is currently due to arrive at the end of May 2002. The screen from Da-Lite takes approximately 4 days to custom fabricate. The screen will be a 101" diagonal screen providing 16:9 widescreen viewing. The electric drapes from Solar Shading will be ordered shortly.


|
![]()
![]()